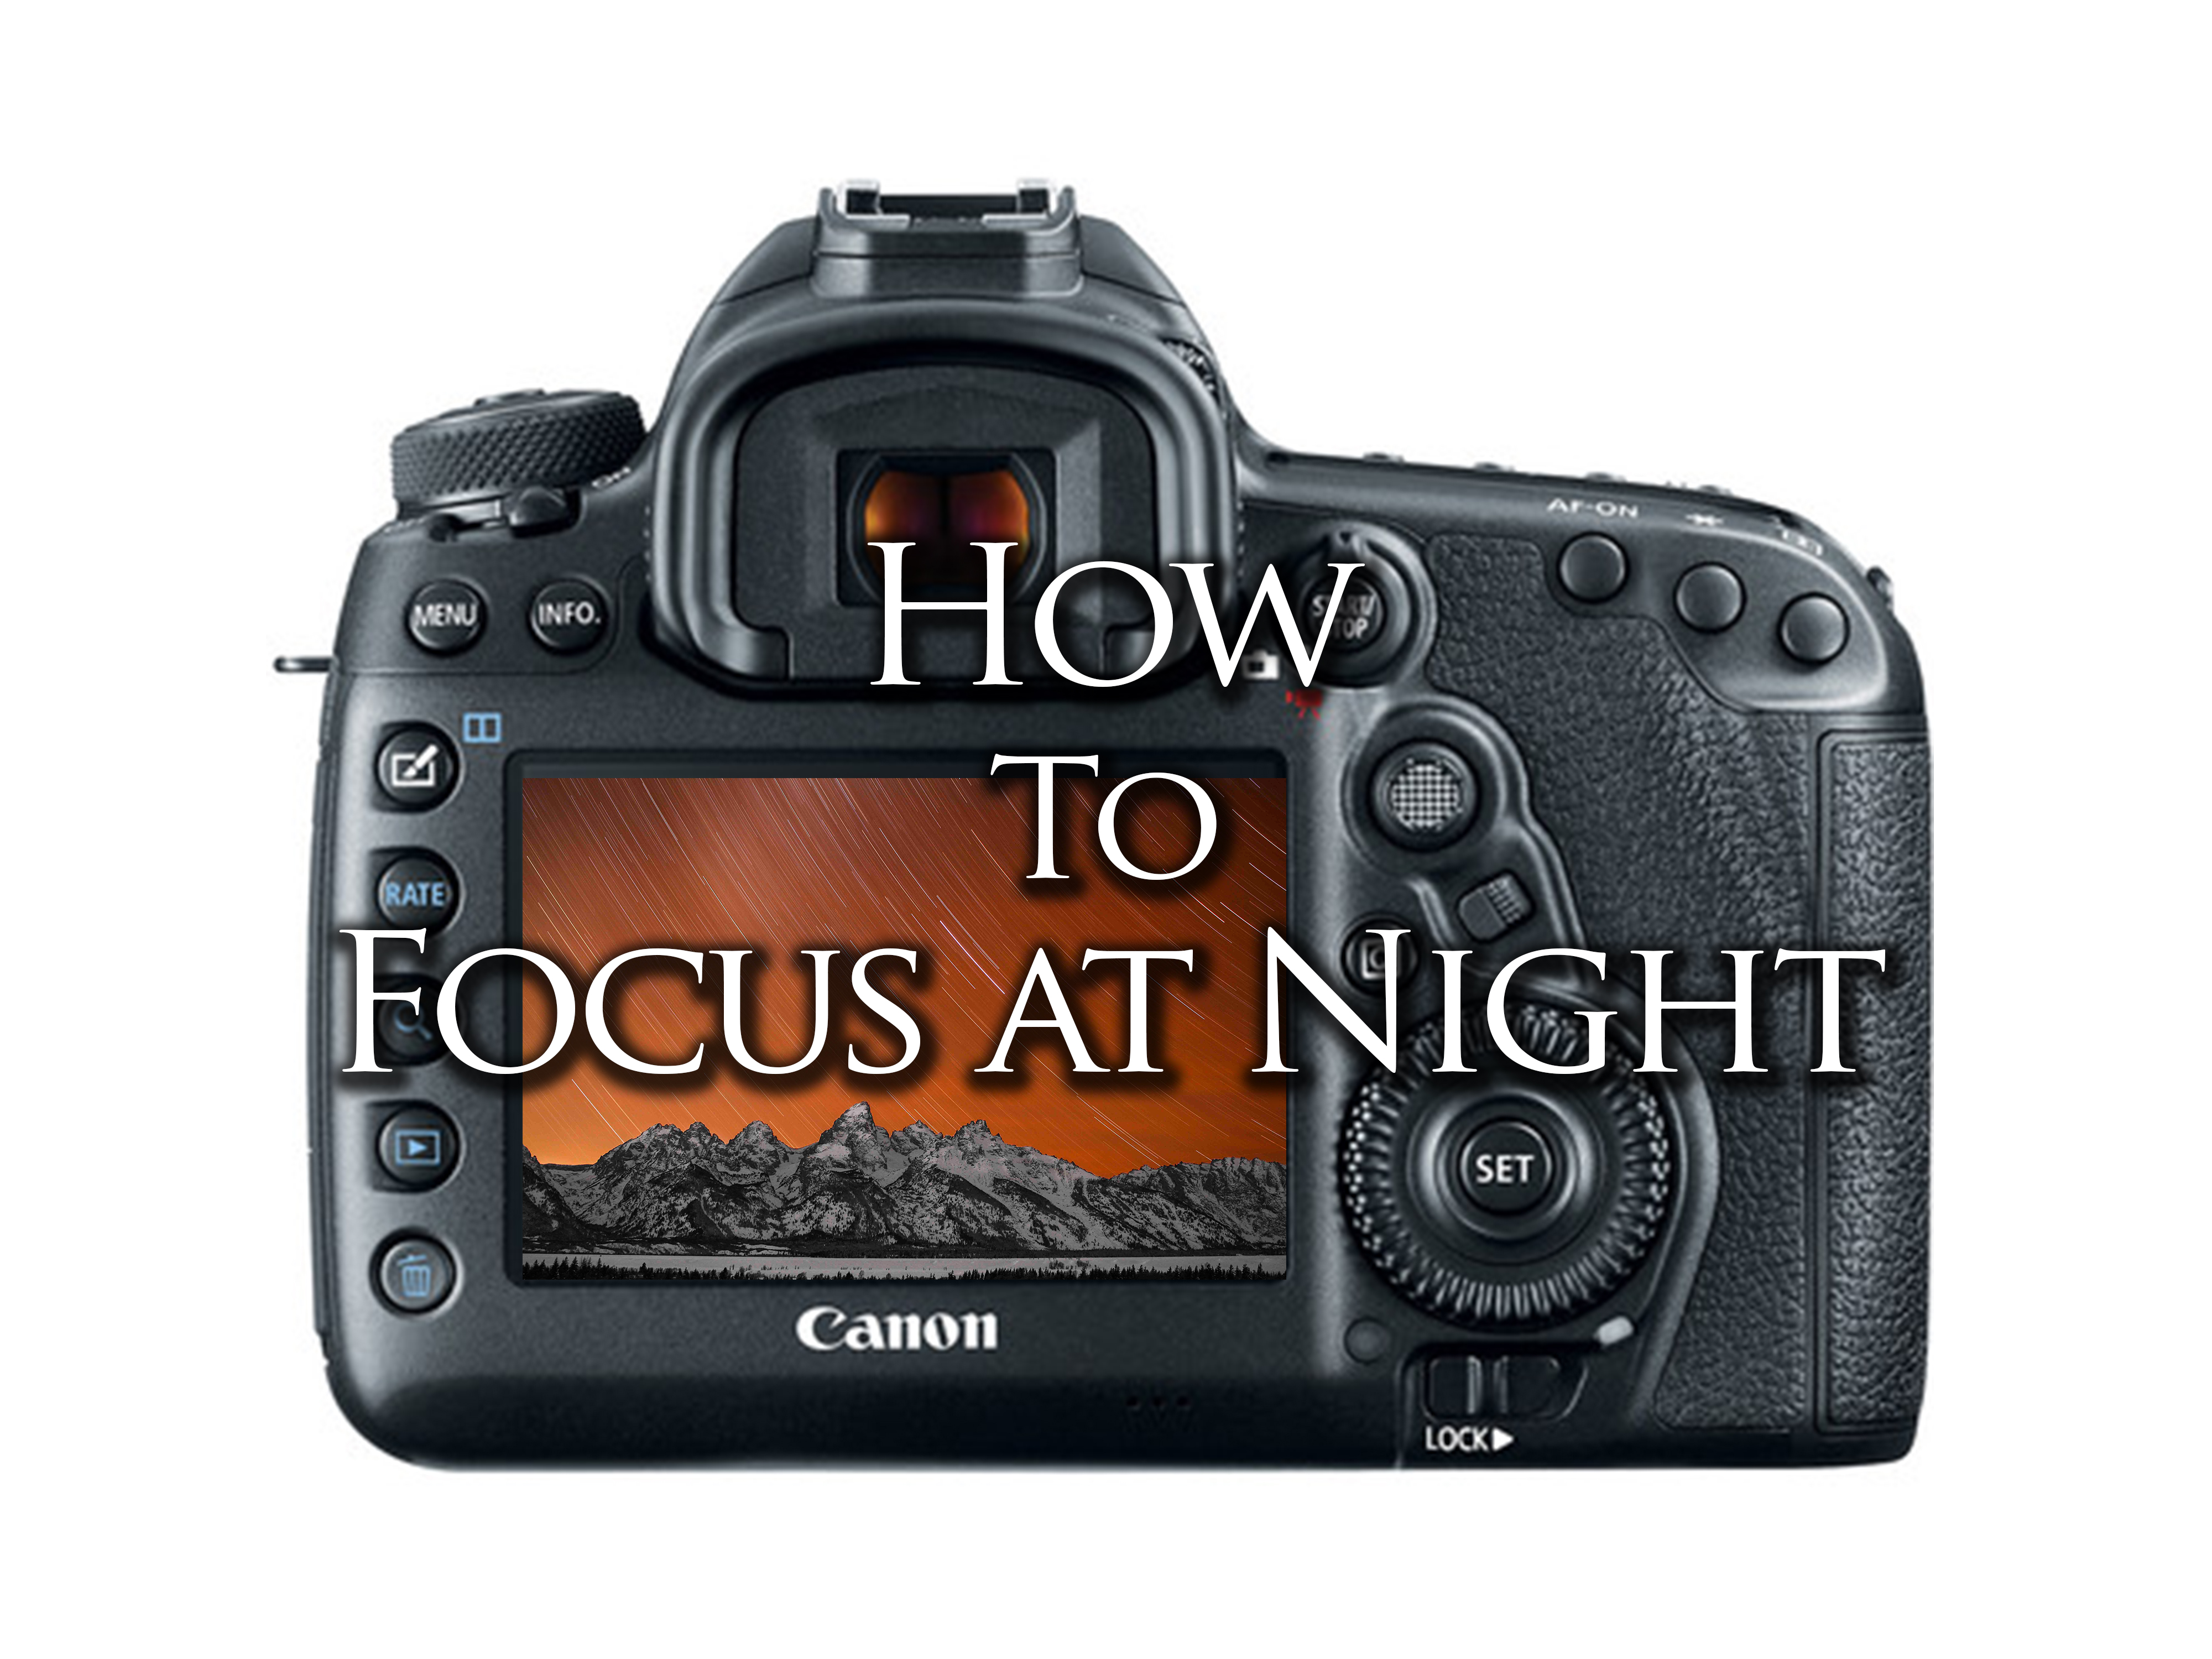
One of the biggest challenges I faced when I first became interested in night photography was getting my images in focus. I would take shot after shot each time adjusting my focus using trial and error till I got it right. Thank goodness there’s a better way! Now there’s a few different methods that I’ll lay out here but I really only use one. So we’re going to start with that. 1. Live View The main issue when shooting at night is that its dark. And with that most obvious statement I hope you keep reading. But seriously you’d think using live view wouldn’t help at all. But it does. So what I do is open up live view mode. Then point your camera towards the brightest star in the sky. You should be able to see faint little stars in your lcd screen. Using the camera’s digital magnification, zoom in on the brightest one and then manually focus your lens until that star becomes a fine point. If you’re unable to see the stars in your live view screen then try finding a distant cell tower. If there isn’t a light bright enough then take a flashlight and carry it off a ways until you’re past your lens’ focal range. Then shine it on something like a tree or your friend or whatever. Now manually focus your lens on that. Most wide angle lenses have a relatively short focal range until they just set at infinity. 30 feet should be about right but check your lens specifications to determine what it’s maximum focal distance is until it gets to infinity. Ultimately you want your lens to focus at infinity. This will ensure that your stars are nice and sharp. Be careful though that there aren’t a lot of close objects in your forground because they might not appear in focus once you take the shot. Like I said, this is the method that I usually use and it works well. 2. Painter’s Tape. This method is simpler but I don’t like to use it. Pretty much all you do is take your lens out during the day and focus on a distant object to get it to infinity. Then turn your focus to manual. Now take a piece of painter’s tape and put it across your focus ring so that it won’t move. Now when you go out at night your lens is already focused and ready to go. Simple. But I prefer not to use this method because it’s most likely that I’ll be using that lens all the way up until it gets dark. But if you’re not planning on using that lens go for it! 3. Infinity on the Focus Ring. This is my least favorite method. But others use it and like it so I’ll go ahead and tell you about it. On some lenses like the Tokina 11-16 for APS-C or the Canon 16-35 for full frame or crop you can actually see the focus ring. On these lenses you can simply turn your focus ring to infinity. Simple as that. On others that don’t have a visible focus ring like the Canon 24mm 2.8, which is actually one of my favorite lenses for night photos, it’s a little more of a guess. On lenses like this you pretty much just need to know where infinity is by turning your focus all the way. Not very reliable really. This method is probably the least reliable. Besides, depending on conditions infinity might not be the same for every photo. Watch the tutorial below and be sure to check out my other article Basic Settings for Night Photography and get out there and start shooting some stars! https://youtu.be/H1AkpseOe_Q
Source: www.findmeonthemountain.com/how-to-focus-for-night-photography
Leave a Reply